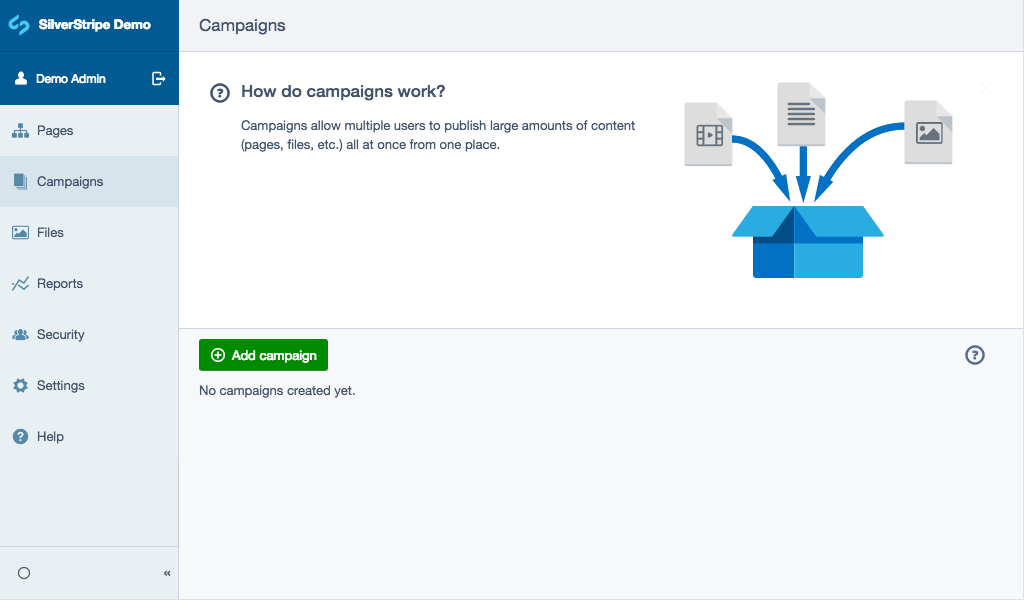
Campaigns overview#
NOTE
The Campaigns section of the CMS is new as of Silverstripe CMS 4 and therefore will continue to develop with functionality.
Campaigns allow for a set of content types (like images and pages) on your site to be viewed and published as a collection. Items in a campaign could contain varying types of content including pages, files, data, content blocks, and forms. By default most content types can be added to a campaign but this will depend on how your data structures have been defined.
Campaigns enable:
- individuals or teams to have easier visibility of a collection of content they need to work on or maintain
- reviewing a collection of work as draft
- publishing of content simultaneously
Creating a new campaign#
- From the Campaigns section, click the button Add campaign.
- Add the details of your campaign:
- Name—give the campaign an easy to recognise/understand title. For example: Product launch June 2019, Marketing team to do.
- Description—you can add additional details to your campaign for easy reference. For example: Go-live date, Team involved, Target audience.
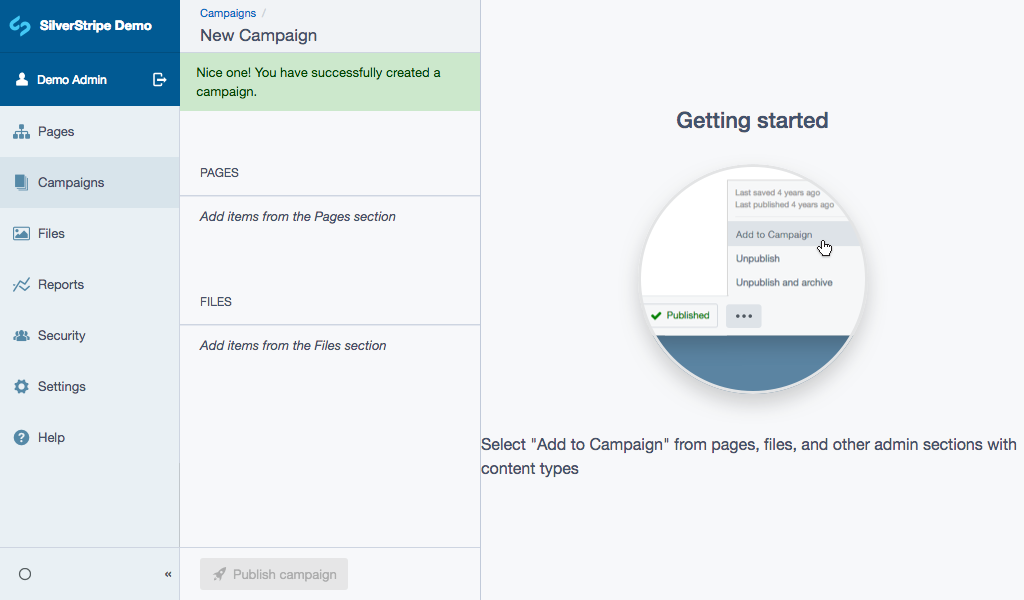
- Click the button Create, you will be navigated to the newly created campaign which will initially be empty of content.
Editing details/settings#

- To edit the settings of an existing campaign navigate to Campaigns in the CMS menu.
- From the list of current campaigns which are presented, for the campaign you want to edit click on the Settings action located on the far right of the item.
- Edit the Name and Description of your campaign.
- If campaign details have been changed the call-to-action will be Save otherwise it will display as Saved (meaning there are no changes which need saving). Click the button Save, you will notified if the campaign has been successfully updated.
Campaign states#
- Active—the campaign has not been published
- Published—the campaign has already been published
Adding items to a campaign#
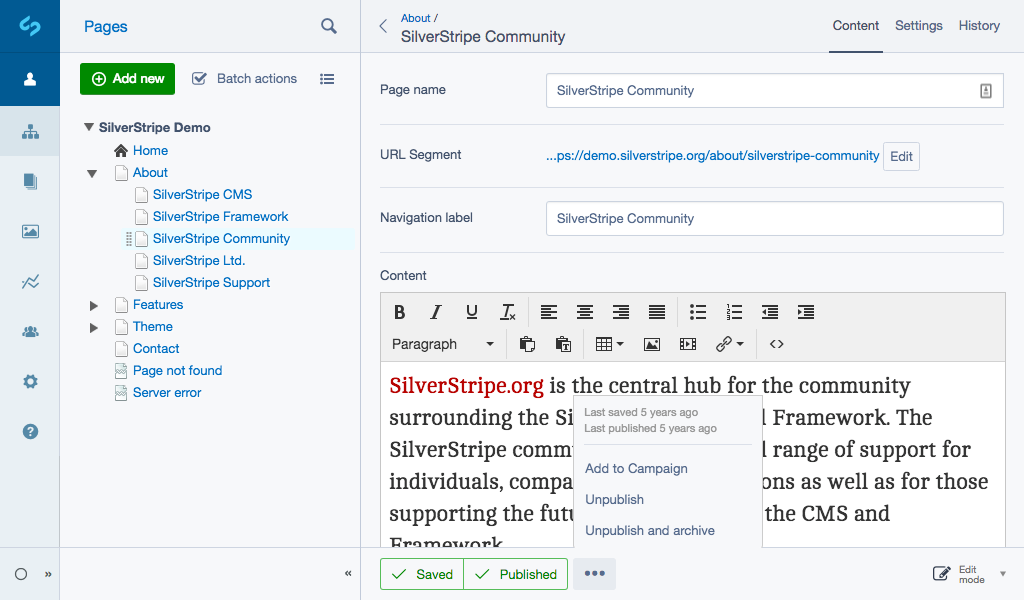
- To add content to a campaign you need to navigate to the content you want to add.
- From the More options dropdown (presented as an ellipsis icon) you should see the action Add to campaign.
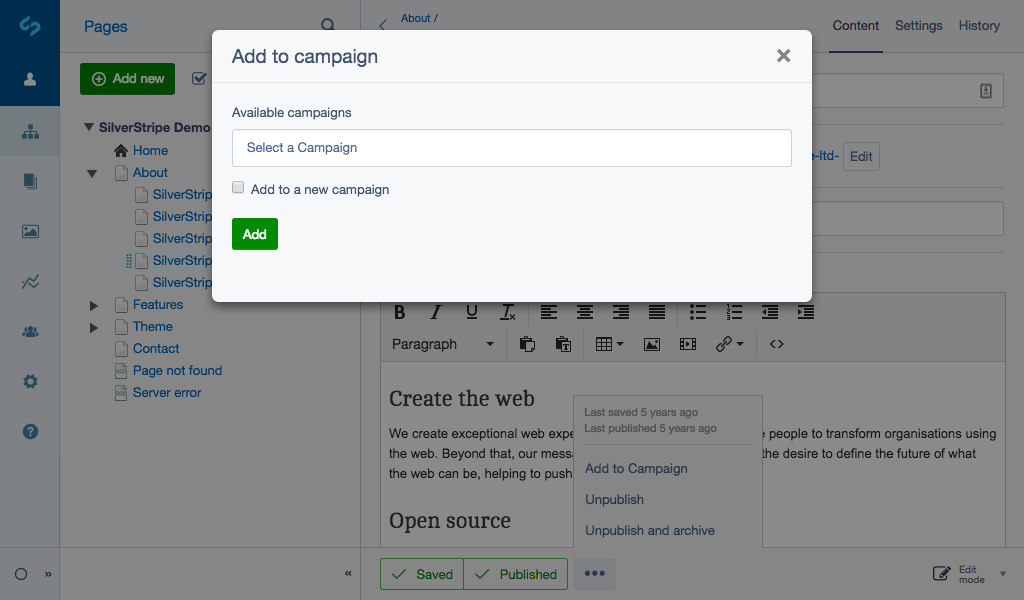
- By clicking on the Add to campaign action you will be presented with a dialog which will allow you to choose which campaign the content should be added to.
- From the Available campaigns dropdown select a campaign to add your item to, or alternatively select Add to a new campaign where you will be presented with a new field where you can add a new campaign.
- Click the button Add to add your content to the desired campaign, you will be presented with a success message. You can now close the dialog box.
Managing items in a campaign#
By selecting a campaign you will be taken to a view where you can see the contents of that campaign. These items will be categorised by content type (for example pages and files).
When an item is selected in the campaign you will see a preview of the item on the right side of the screen (if one is available). Items have two actions below the preview area:
- Edit—takes you to the editable view outside of campaigns. For example, for a page it will take you to the page within the Pages section.
- Remove—this action removes the item from the campaign. This includes any items which are solely tied to the item being removed, for example if a page is removed which contains a file which isn't being used by another item in the campaign, both the page and file will be removed at the same time (see Linked campaign items below).
Content states#
Items of content will indicate whether they have unpublished changes by showing a badge. If there is no badge present then the item has already been published, so there will be no visible change when the campaign is published. State badges:
- No changes—only content items that are selected within the campaign will show this badge. This indicates that the item is already published, so there will be no visible change when the campaign is published.
- Draft—the item does not exist on the live site in any form.
- Modified—the item exists on the live site but there are additional changes which will be visible once the campaign is published.
Linked campaign items#
When a link icon appears on selected content in a campaign there are other items in the campaign which are dependent on it. For example, an image might be placed on a page and if the page is removed or published the image will also be removed or published because of the relationship they have. Any linked items in the campaign will also show a link icon to represent this relationship.
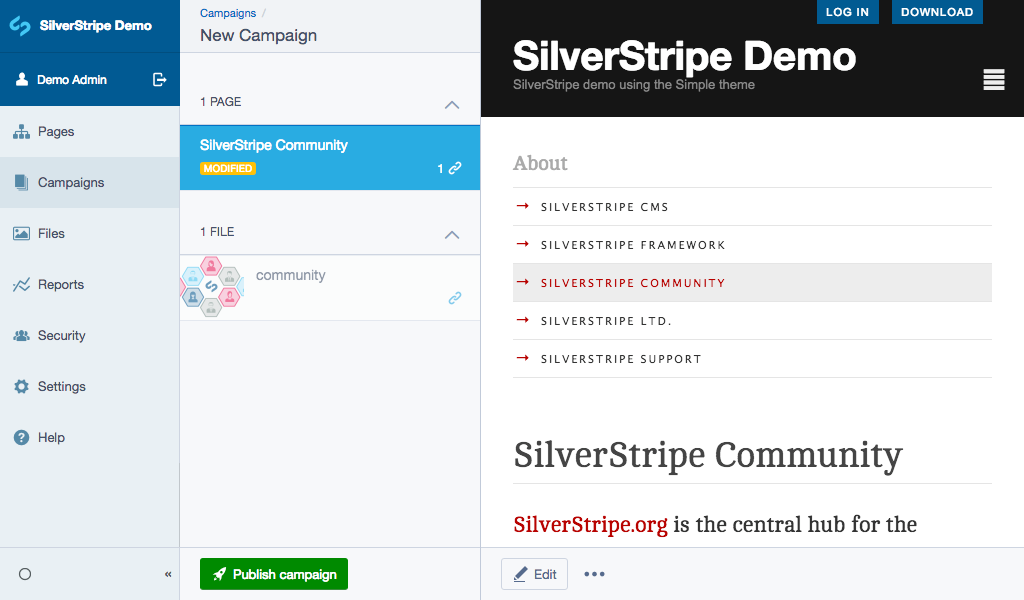
Publishing a campaign#
Once you have reviewed the content in a campaign and are ready to publish it, click the button Publish campaign, you will then be asked to confirm your publish action. Once a campaign is published the campaign will remain but all of the items which were either Draft or Modified will be published.
Once a campaign has been published the campaign state will change from Active to Published and will remain in the list of campaigns for future reference.